Classnotes – 2024.10.11
Lecturer Luca taught us the importance of composition and gave us ideas on organising the environment, including rhythm, Movement, Unity, and variety with visual explanation.
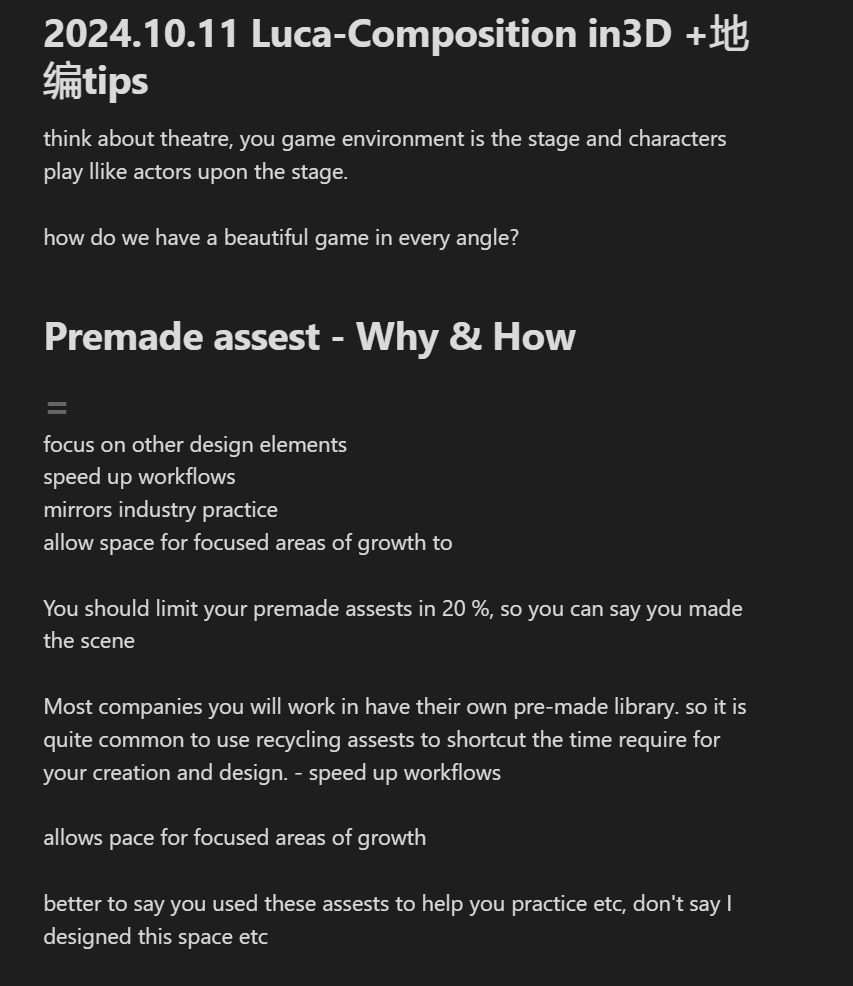
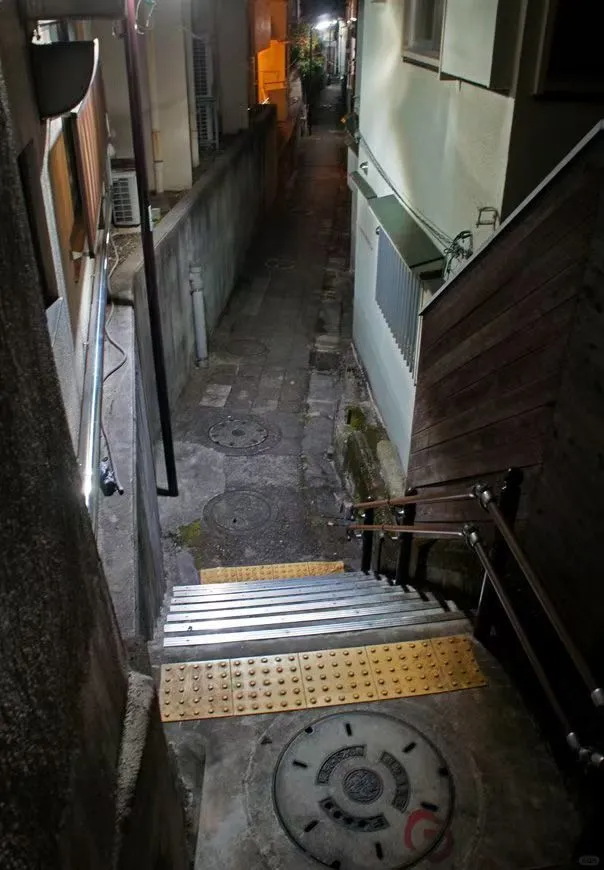
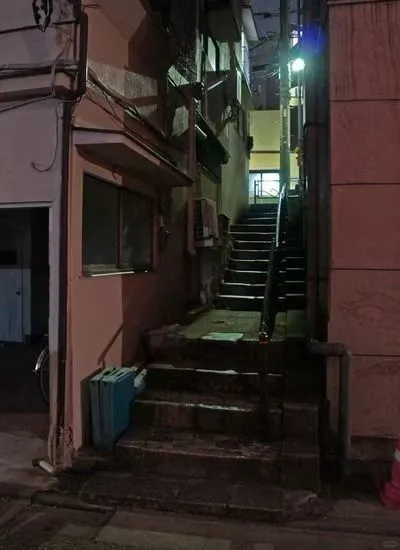
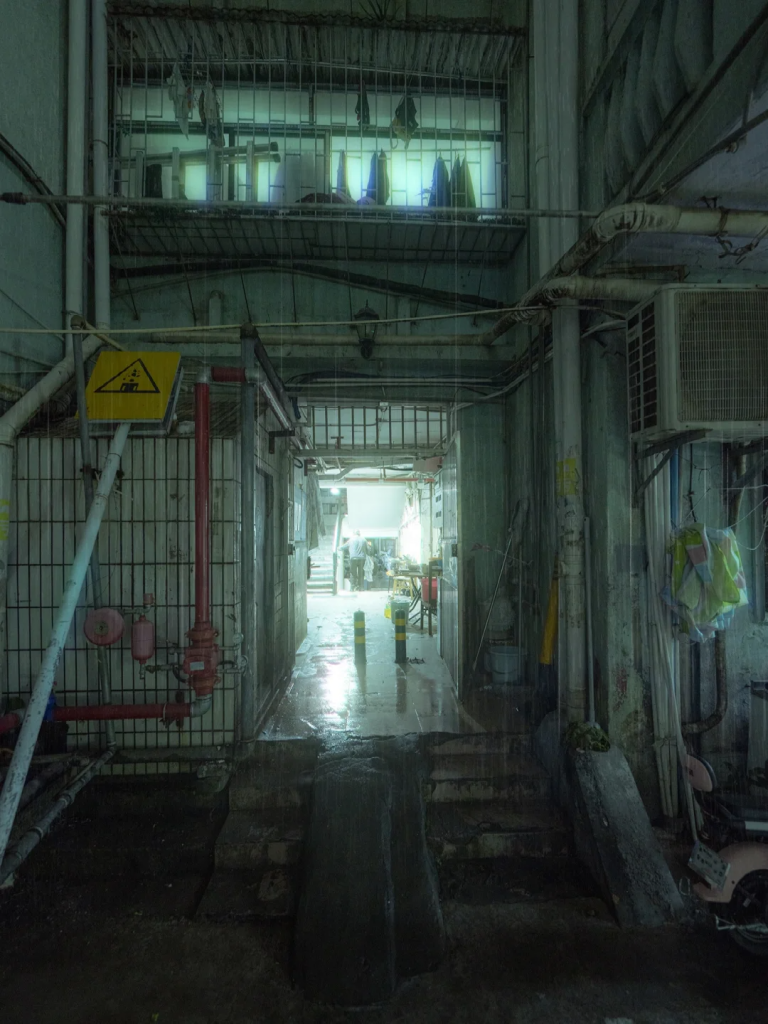
Favourite visual Luca showed to us:
I think the most important thing (s)I learnt is that:
- a good environment always tells a good story
- studying psychology helps you manipulate your players (I studied psychology in college before, and I think it is time for me to study further – I mean I should burrow some psychological books from the library when I have time – maybe for the holiday?)
- decide which part of your environment is more valuable than others
- by adding things like dust/snow/rain to create an atmosphere
- sufficient light in your environment so viewers can see the details.
Notes: when I started building my own environment – the UE5 practice as Luca requested us to do as the final outcome for this toolkit shop ( its kinda of like weeks after this session) , I found, yes I did understand the theories but it is sooooooooo hard to apply these theories onto it QWQ – I think it is because of 2 reasons, A. first time engage with environment settings – character design was my major (I don’t even draw environment in 2D qwq) and building up an environment has tooooooo many things to concern compare to design a character; B. always a gap between theory and practice, I think I just need to do more practice until I am familiar with everything I am doing and things I ll do)
Classnotes – 2024.10.18 – psychology behind visuals
in a nutshell, how to use visual elements to guide your audience and to manipulate them.
Things learnt today – creat a whole environment that tells a story with natural flow, and guide your playeers to explore the story in 3D
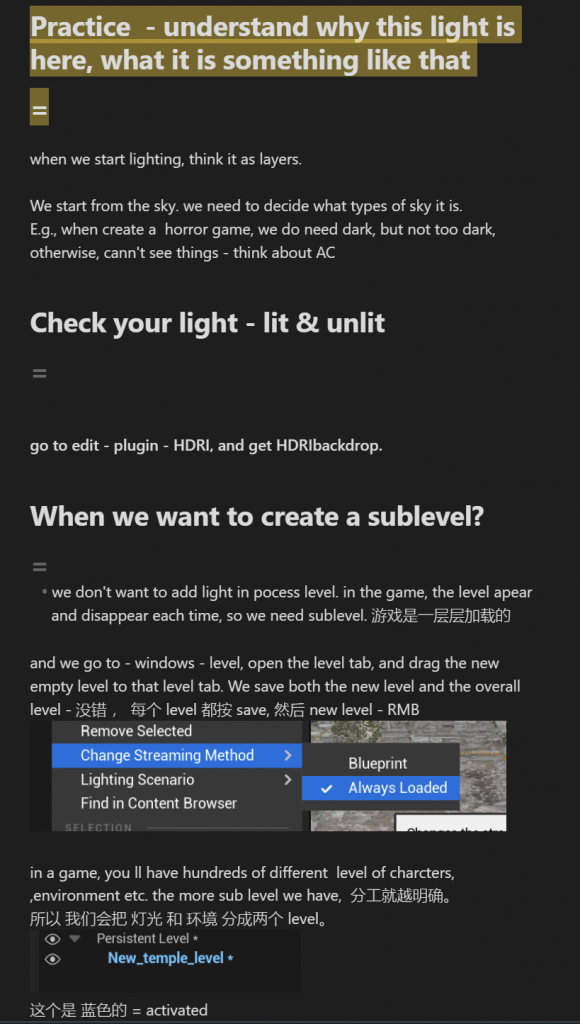
2024.11.1 – Lightning Workshop

The lecturer taught us how to set up light step by step, really really useful!
Also, I am deeply aware that whether my computer memory is too full or because of some other reason, it cannot render lights with that detail (mist+ tonnes of point light + large environment), so when I render the project and the visual environment project later, I should use desktop in the university to render.

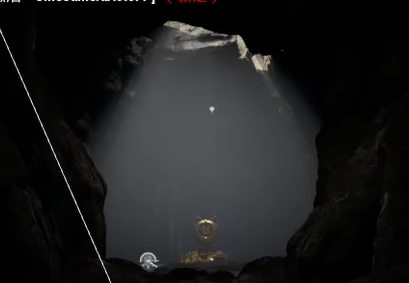
The render on my laptop
The Process for UE5 Project for this Session:
Study of basic functions in UE5; following this tutorial:
Use 500 Minutes to get familiar with UE5 – https://www.bilibili.com/video/BV1Cd4y1V7G5/?spm_id_from=333.999.0.0&vd_source=e13b14061d69c0d82b2f30c91181db76
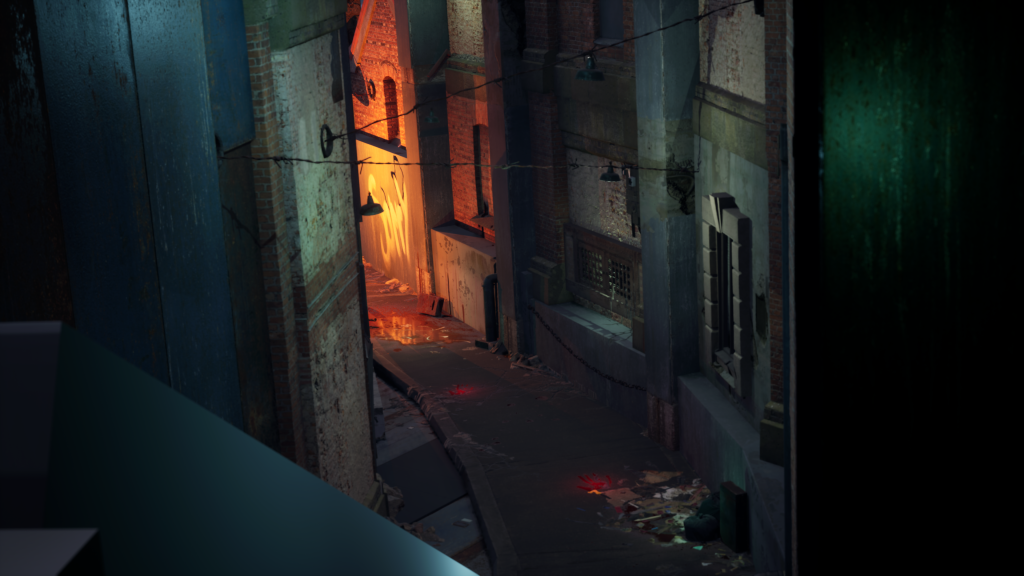
At first, I was thinking of creating a very romantic scene with snow as Christmas is coming haha. Then I found… compared to romantic, creepy, dark environments is something I really like to do – I love horror game but I only watched play recordings because at the same time I love it, I am afraid of those scary things Lol – maybe this time I could create a horror environment for myself and because I created by own, I may not be scare of it he(。・ω・。)
Well.. I don’t have a proper mood board, what I did is just gather some references that I found really interesting (I want to spend more time with the visual immersion project other than on this one because Luca said this project will not be graded but visual immersion project will be graded; for me, this project is a practice other than a task)
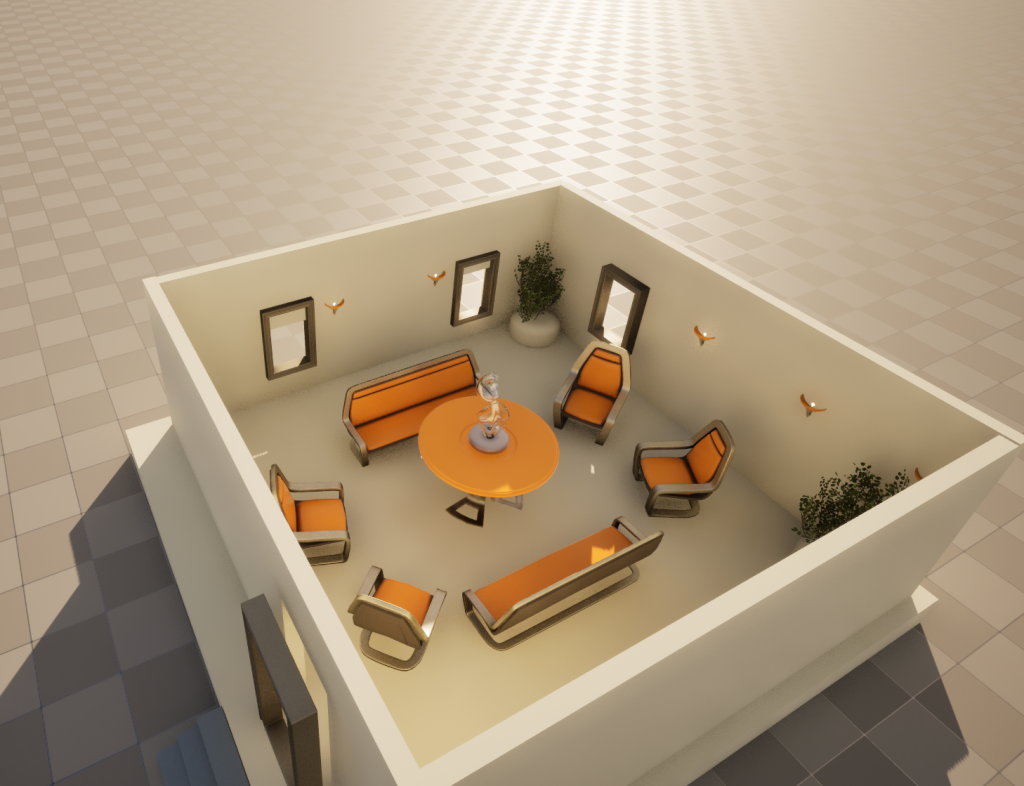
Then I start build my blockout~
List meshes/textures I found might be useful for my scene (through Quixelbridge)
Start Build it~
Current Stage & received advice from Luca:

create the shape of the monster by using shadows if you want more narrative.
Also, do not spend too many things on the spare part – the part that does not tell the story in your composition.
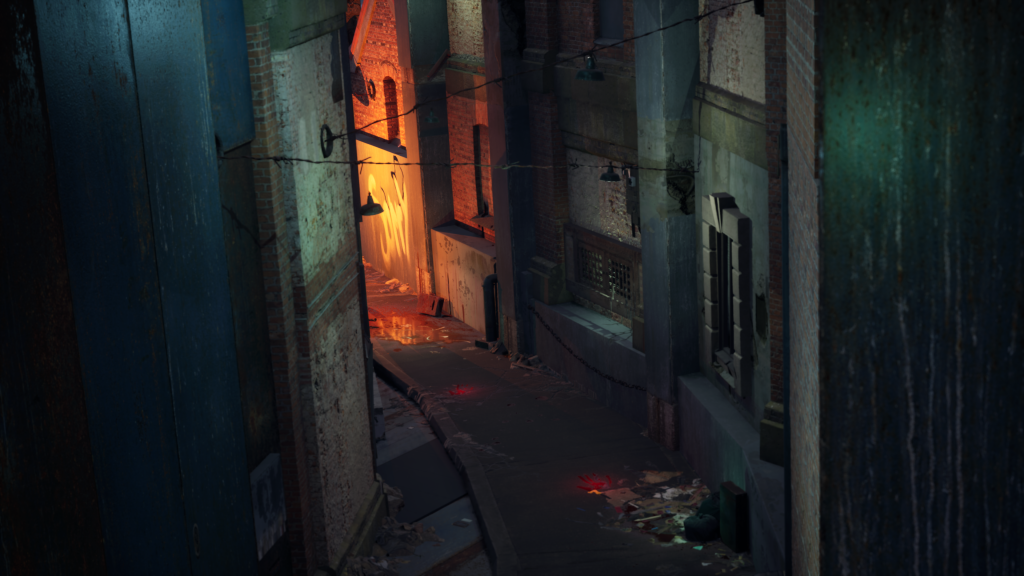
Make a new camera and test it.
Also, your red light in the very end could be pushed – stronger, and that light even affect the foreground
Also, look at how the wall joined the ground – you have a lot of straight lines, and you should try to break these lines – by adding different things using decals.
Changed and turn exposure to 1&1.

Study how to rendering
It requires path tracing, and I cannot find it, so I go to edit and added it manually~
I rendered the scene out but I found there’s always a weird shape located on the corner of the image that I don’t know what it is…
So I researched online – and found people with the same issue (though their issue was in Blender) but this post is really useful!
The Final Outcome & Reflection etc
Advise from the lecture: play more with the light and need to add mist to add length (I think I ll continue to improve this scene after I finish my visual immersion project following the advice from the lecturer)
Reflection:
this is my first time trying to build an environment with only a moldboard as the reference. Before this project, I only tried to follow the tutorial to build something in UE5.
I think in this experience, I have practised my composition ability – it took me ages to think about what I wanted to do and how should convey my idea visually, it was painful when doing it but it gave me a sense of achievement when I finished it.
Also, I have familiarised myself with UE5 through this project (I was a complete rookie on it Lol), and I have a deeper understanding of light and shade and the importance of the depth of the environment = don’t let the joint of wall and ground be too flat, need to break the smooth straight shape; always remember to play with light, use light and shadow to create interesting effect to enhance your storytelling, such as create a monster/human shadow; increase the contrast and the generated light should match the mood, also, for every detail that you want to show to the audience, you need to have a light so viewers can see it, unless for special effect; to mimic the light in reality, you need to use more than one light, for instance, to mimic the light bulb in reality, needs to have a point light as the bulb and a larger spotlight to mimic the light by the lightbulb
(Come on and keep improving myself ٩(˃̶͈̀௰˂̶͈́)و!!!!!)