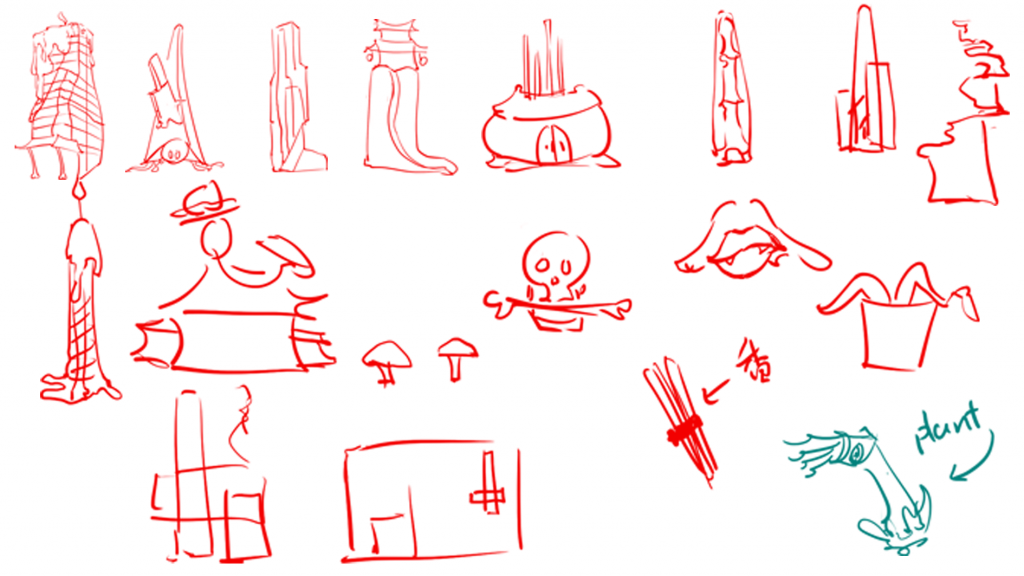
initial sketches
the reason for me to come out these ideas was…I was so struggling with the composition of my scene, and I really just didn’t know what to do with my scene, but I knew that I didn’t have much time to struggle, if I couldn’t do anything with my composition, I had to start thinking about other things. So I started todo something easier for me, which is concept of interesting buildings for my scene. This idea is also Inspired by my parents – they suggest I start with something I am interested and they comfort me with ‘ideas always come, its just sometimes a bit late’.
I have divided my building concepts into humans and ghosts; within them, they have different functions in my scene, like small/large/tall/wide/road, so I can use these different building blocks to build up my scene and to see whats needed after the basic block out.
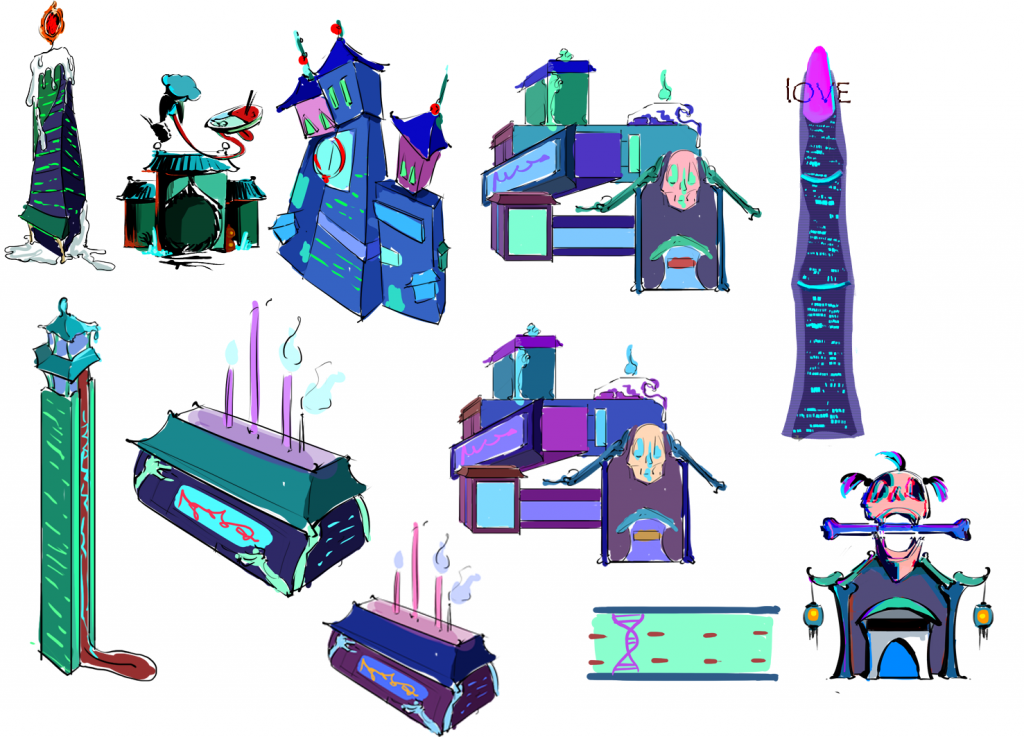
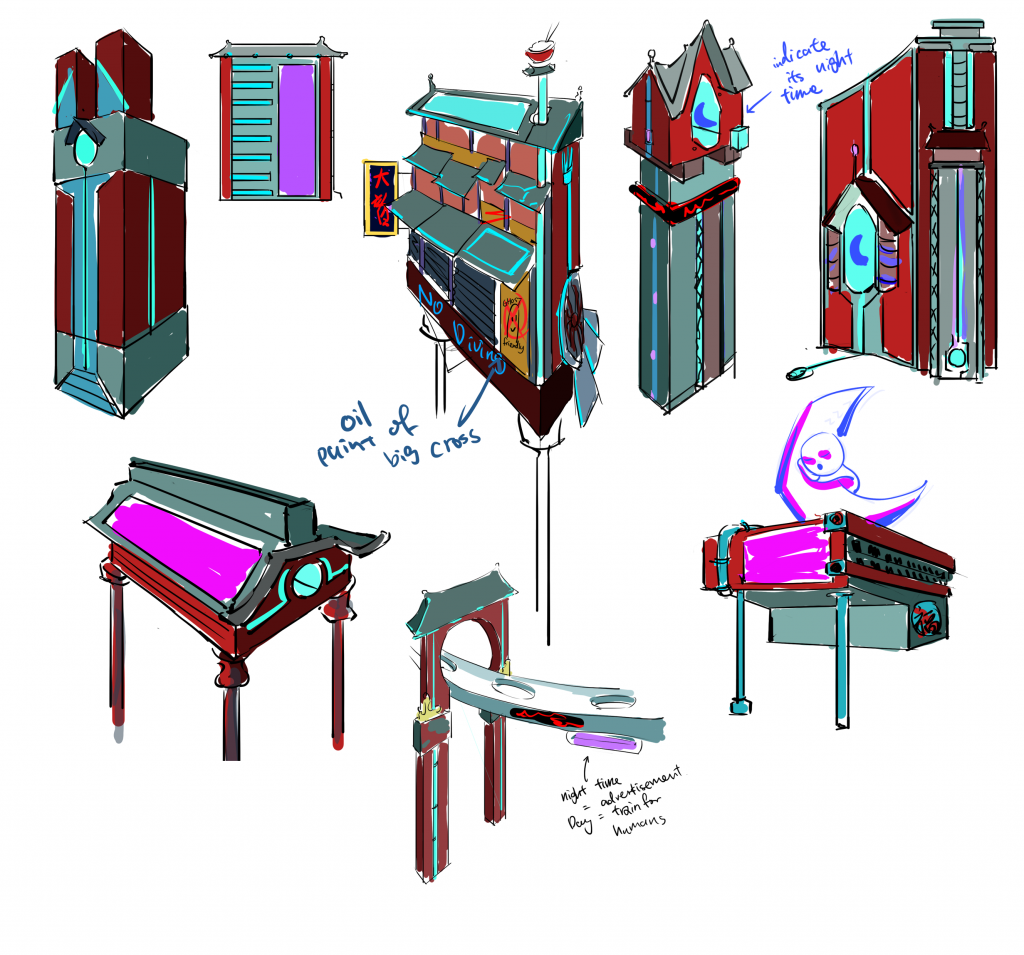
Then I decided to build out all the concepts first, and then put them into UE5 to do the composition and adjust them because I…really unsure about what would be in my scene and what composition my final scene would be…
I never built out a large environment before, its a challenge for my imagination and my logic. So I decided to go through it step by step, I know I will ‘waste’ a lot of time in testing as I don’t have a clear plan at first, but I think, maybe this is so called studying (。・ω・。)
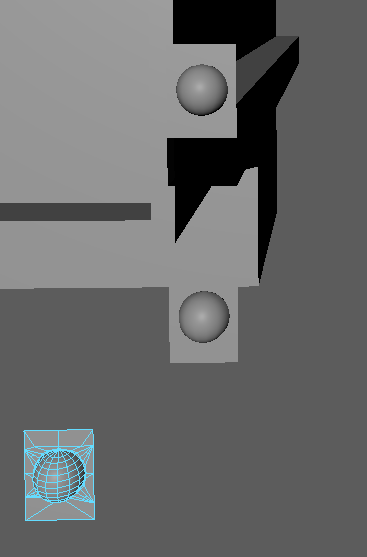
So I started building my models based on the very sketchy concepts I have and following Amile’s instructions on how to build low poly models. The above image shows the notes Ive taken in Amile’s session.
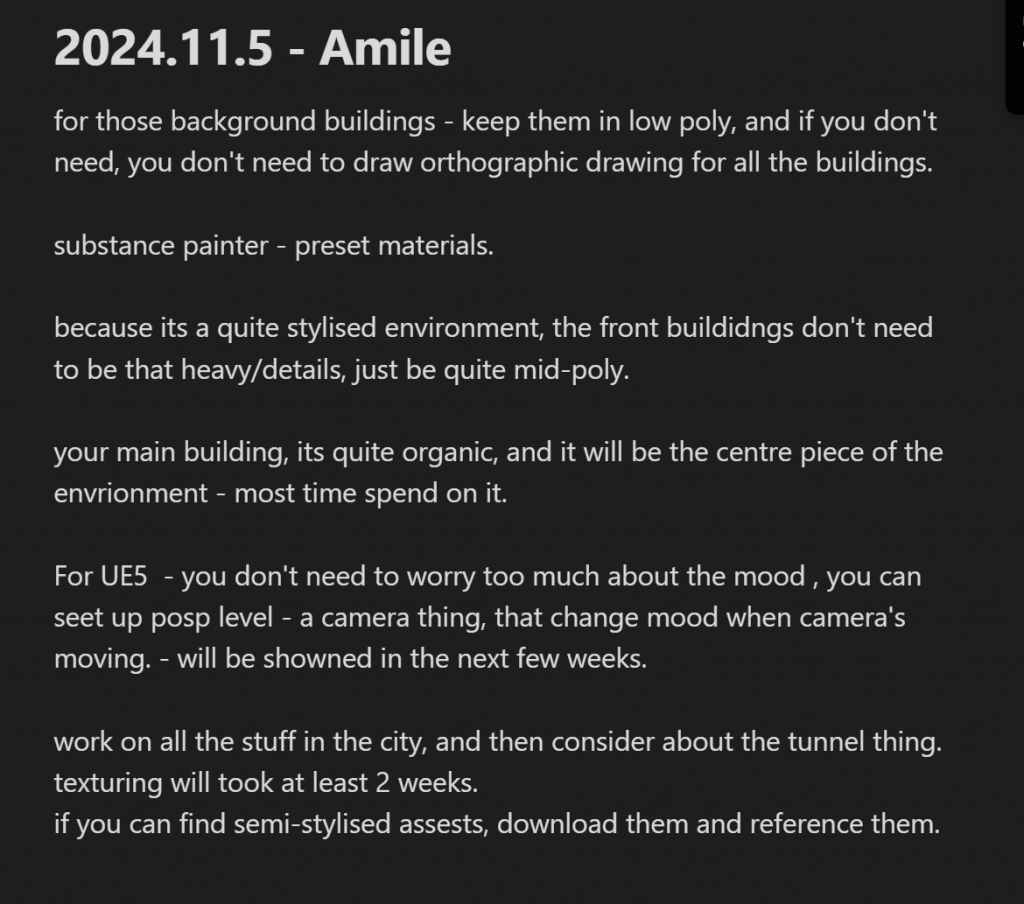
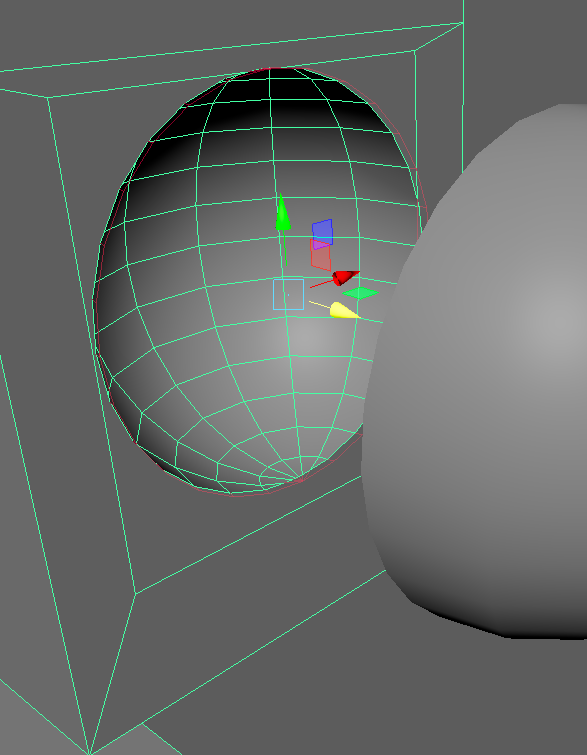
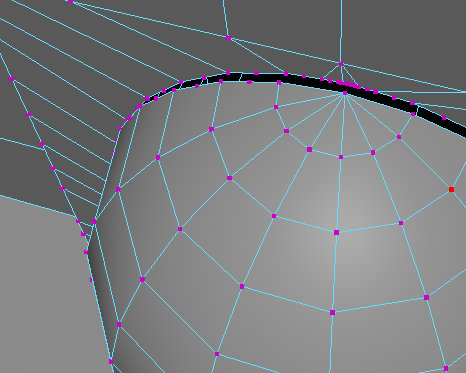
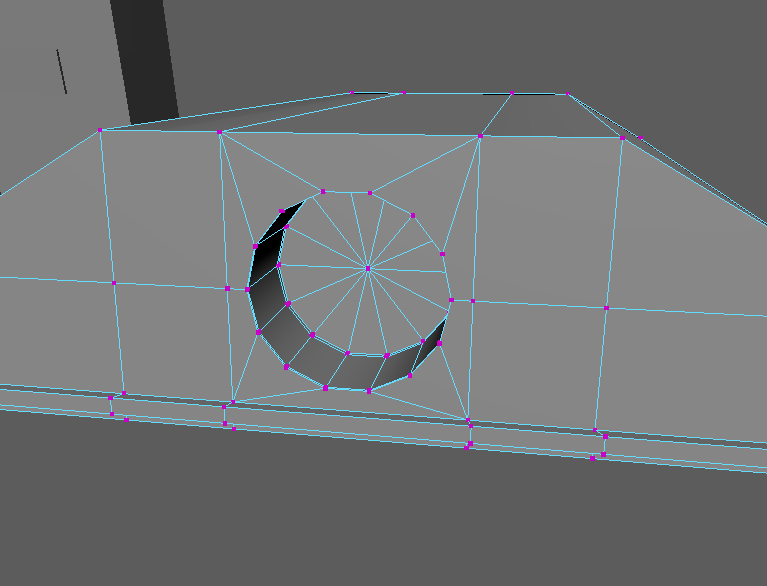
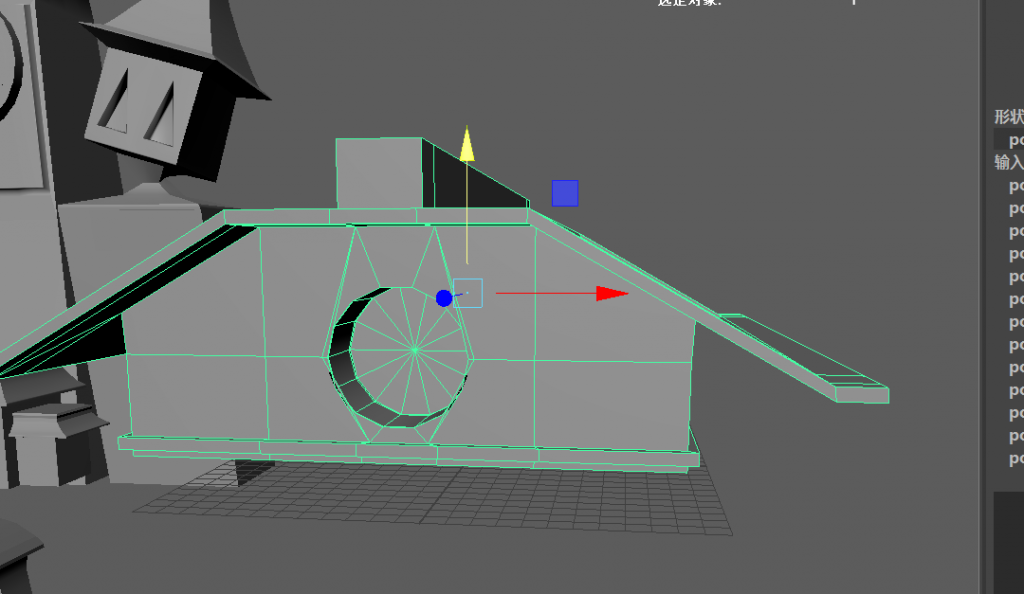
I showed my model to Amil, and he pointed out that while the pieces connected into a whole, the circular edges weren’t sufficient. I had originally used eight edges, as shown as the temple on the right side, but that wasn’t enough—it would be better to have 12 to 16 edges. So… as shown on the left, I reworked the topology and changed the lines to 16 lines, and reconnected everything.
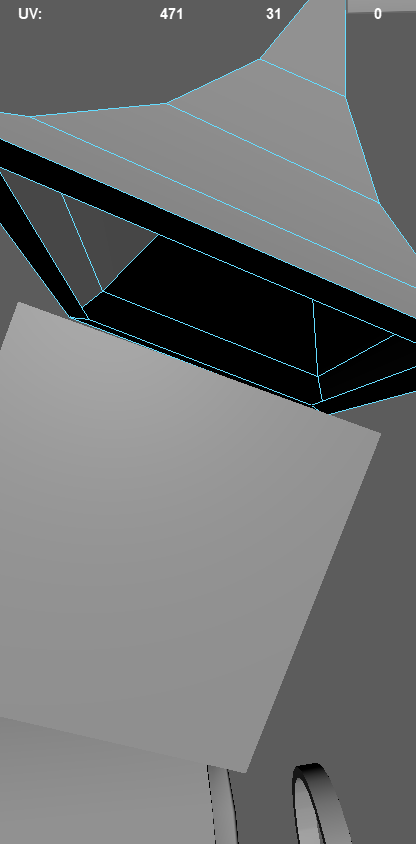
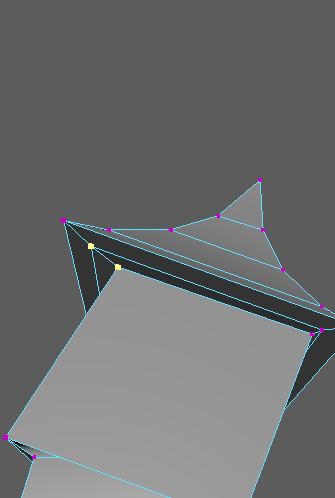
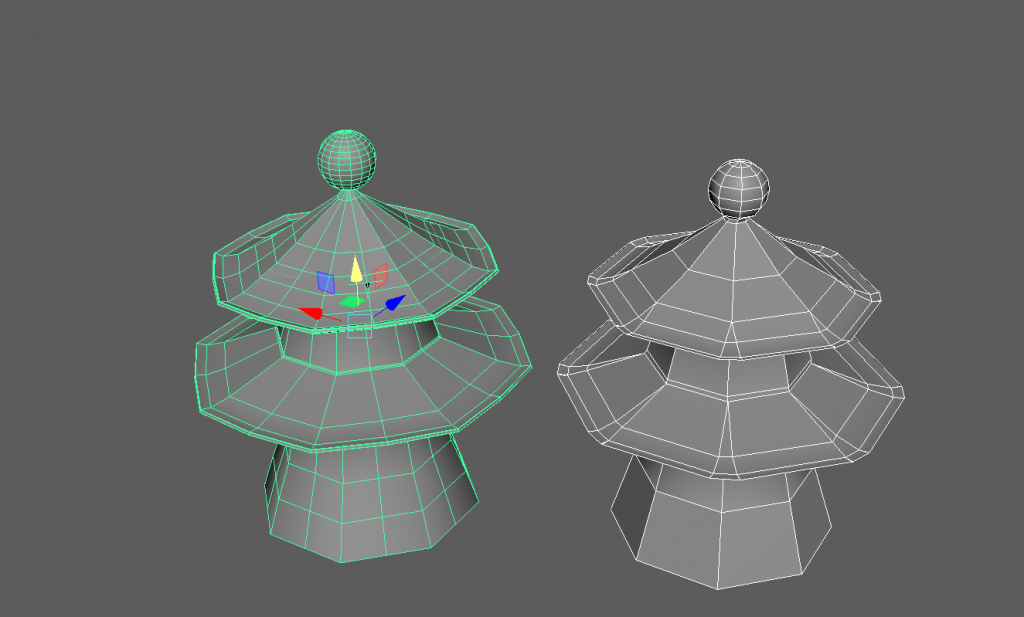
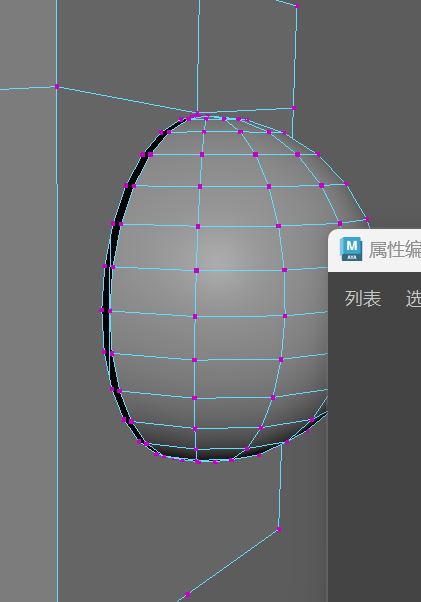
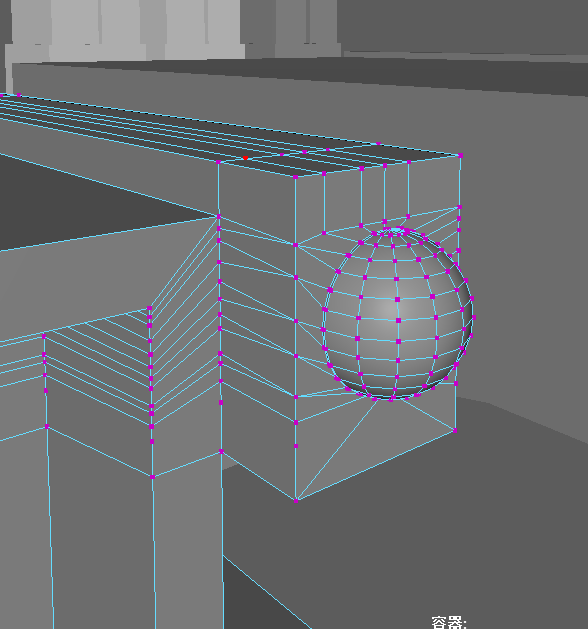
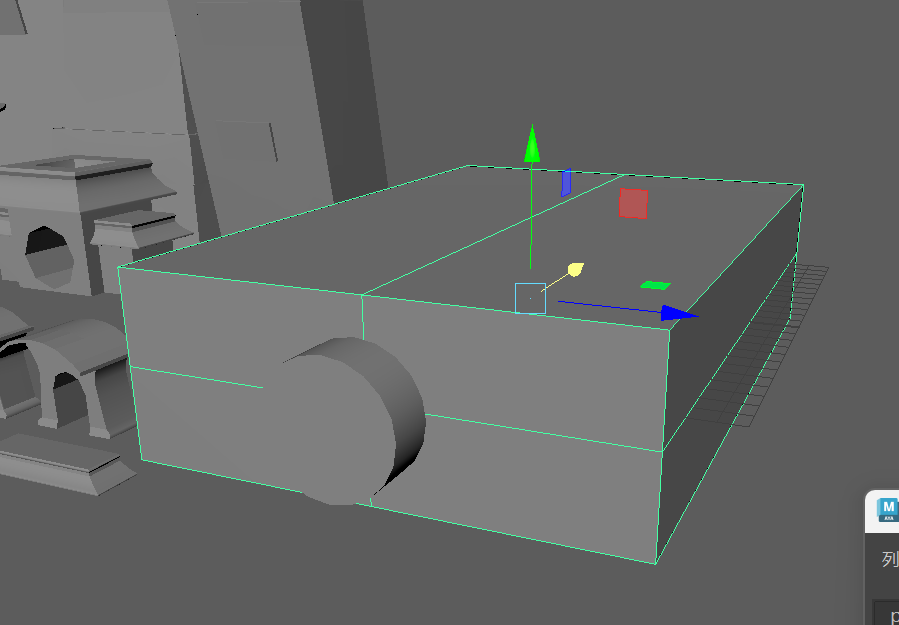
The images above convey how I welded the two parts together. My process was to first create Parts A and B, then scale them to match, and finally connect them.
By the way, at this stage, I hadn’t yet learned how to use the weld point tool—where you simply select Vertex A and drag it to Vertex B to merge them instantly. Instead, I was using combined points, which was… a bit painful. This method caused issues later when unwrapping UVs—some points overlapped without merging properly, while others created new unwanted vertices. Even after using quick merge with a threshold of 0.001, the problem persisted. So, in the future, I should definitely use the weld point tool for connecting vertices.
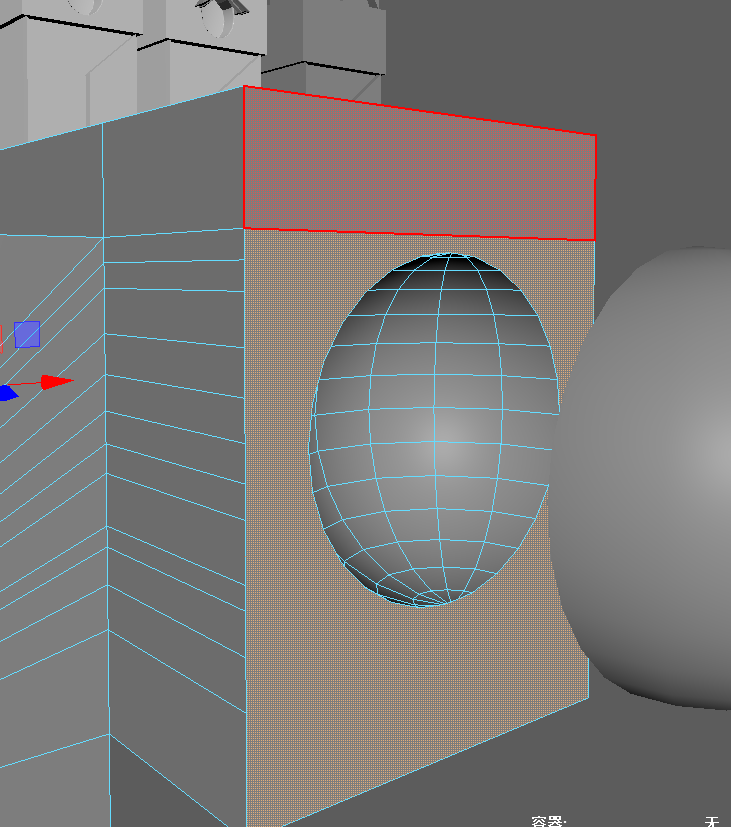
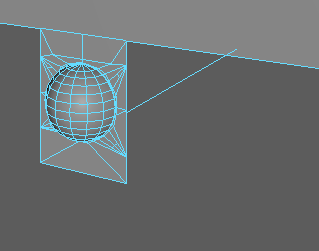
我把 这个圆形连接 在一起, ehhh 我- 并且把他切开来 然后像 贴片一样 贴上去就好了 – 这样只用做一个 就好了yeahh。
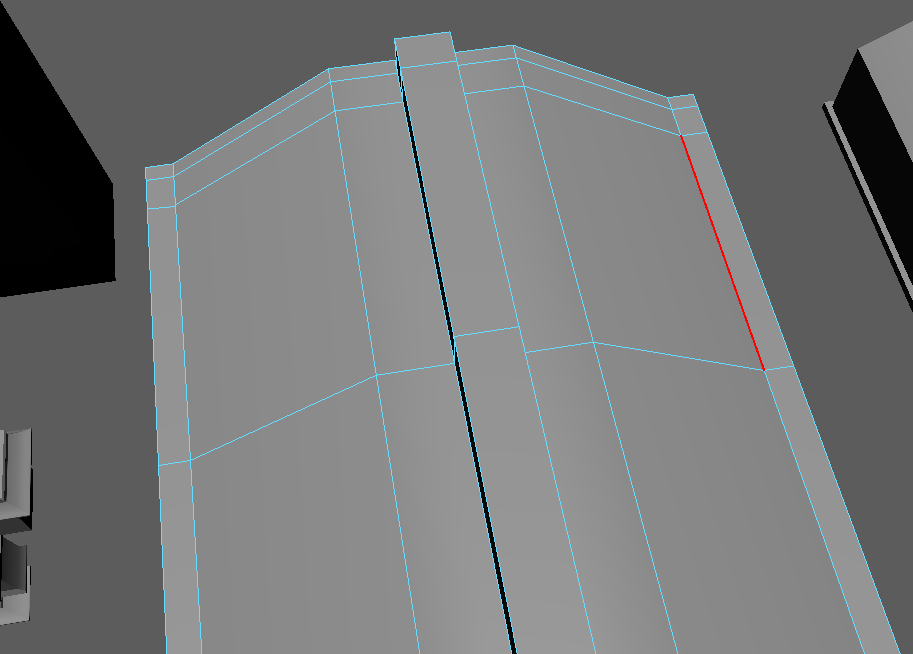
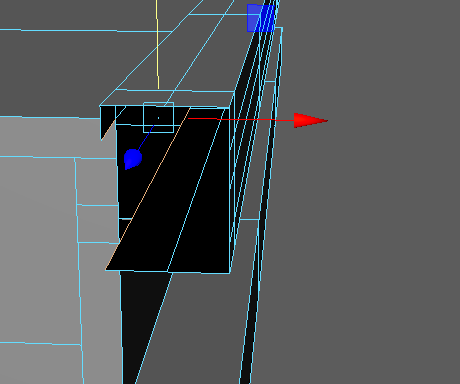
这个布线在 我现在看来是有问题的 – 因为 会在PT 中 渲染不好,但是也没多少时间改了。。因为后面又这么多的建模等着我去拆UV

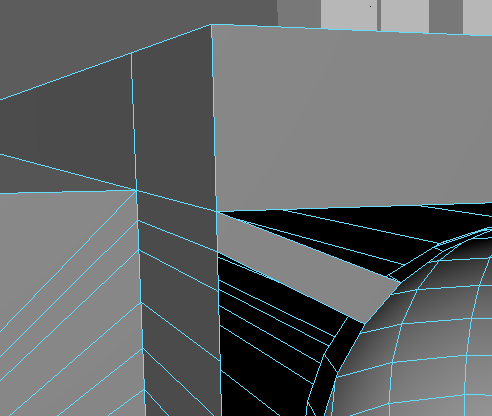
最后的 部分模型 和布线。。。(不包含 手和 主体)
I totally get that feeling—modelling and UV work can be so time-consuming QWQ It’s like half-time for the project is just that. Changing the theme is tempting, but since I am already halfway through, maybe powering through is the way to go. At least once it’s done, I won’t have to worry about it anymore! hang in there! I got this! I really appreciate my parents, lecturers and friends, they always encourage me to keep on going, plus I need to appreciate myself and that my personality is to do everything as fine as I can, otherwise I will probably just do something easy and random Lol.
By the way,
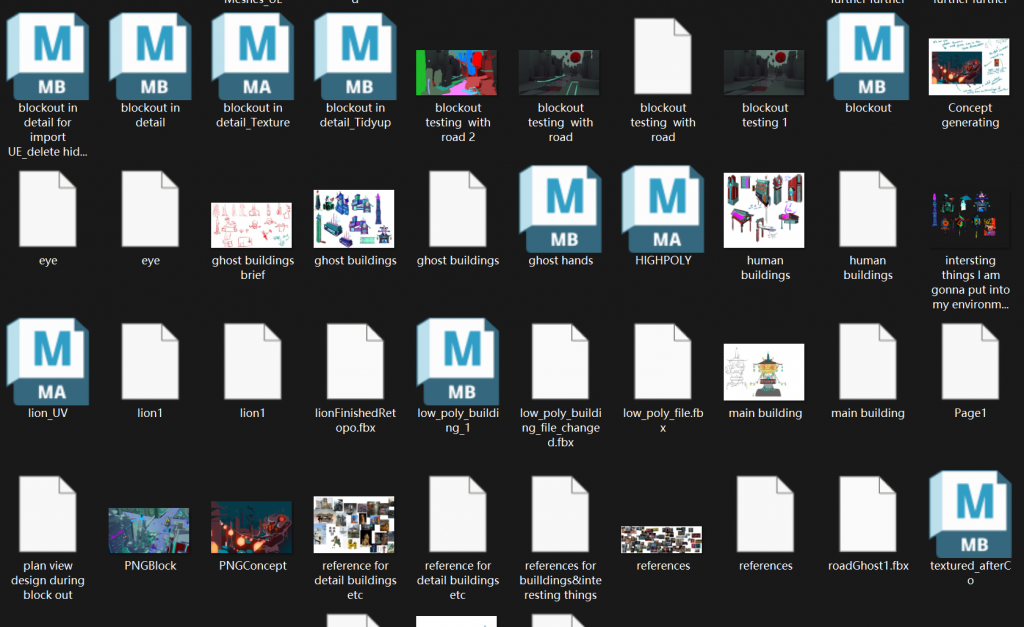
Look how many versions of Maya files I got haha